
Choose a scene, add their names and a date, then download your printable frame. Every design below opens in the editor.
Actual model renders · Choose from 7 photo formats in the editor · Physical print checks pending
MAKE A WISH
Balloons, a party hat and a birthday cake. A little celebration with their name on it.
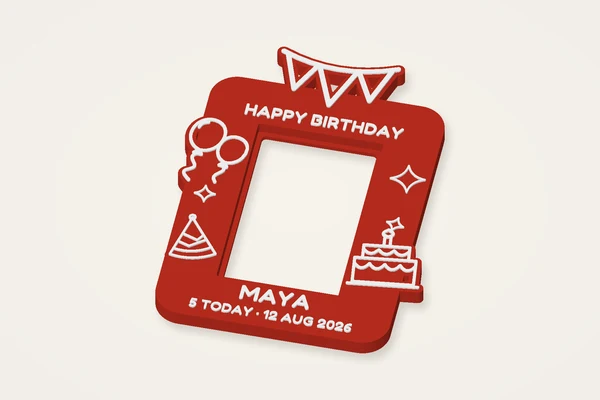
Balloons, a party hat and a birthday cake. A little celebration with their name on it.
Typical size: 117 × 154 × 8 mmMake it yours ↗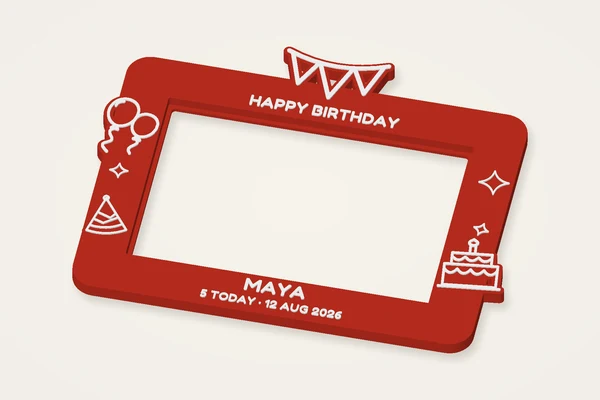
Balloons, a party hat and a birthday cake. A little celebration with their name on it.
Typical size: 215 × 170 × 8 mmMake it yours ↗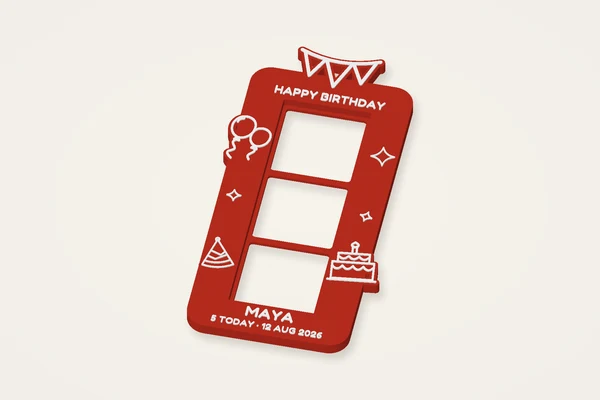
Balloons, a party hat and a birthday cake. A little celebration with their name on it.
Typical size: 109 × 215 × 8 mmMake it yours ↗YOUR KIND OF FOREVER
Ribbon bows, flowers and intertwined rings, made personal with two names and a date.
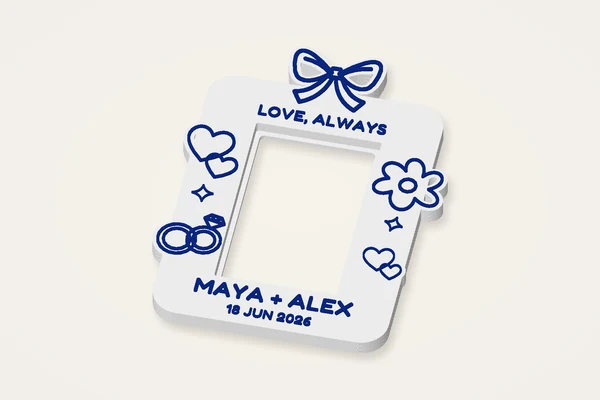
Ribbon bows, flowers and intertwined rings, made personal with two names and a date.
Typical size: 117 × 156 × 8 mmMake it yours ↗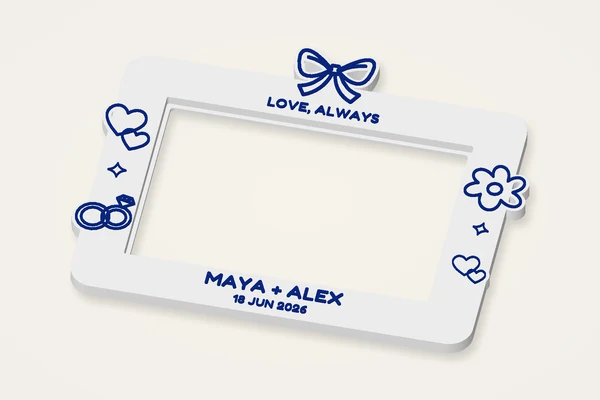
Ribbon bows, flowers and intertwined rings, made personal with two names and a date.
Typical size: 215 × 171 × 8 mmMake it yours ↗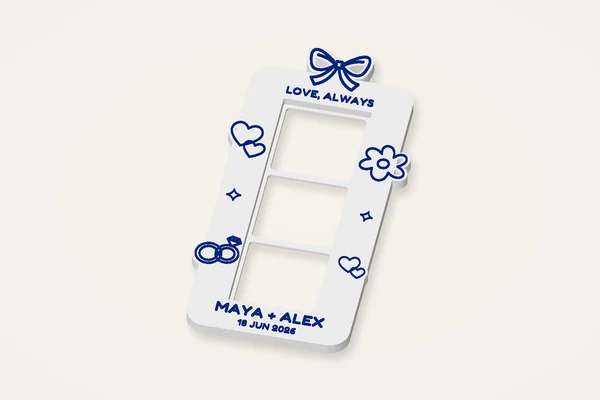
Ribbon bows, flowers and intertwined rings, made personal with two names and a date.
Typical size: 108 × 216 × 8 mmMake it yours ↗THE LITTLE MILESTONES
A sleepy moon, soft clouds and a teddy bear for the moments that grow with them.
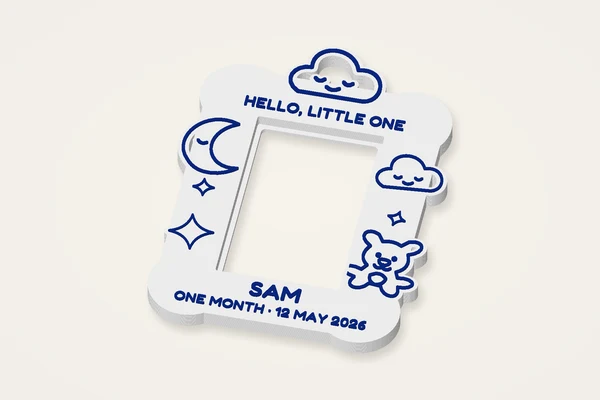
A sleepy moon, soft clouds and a teddy bear for the moments that grow with them.
Typical size: 115 × 157 × 8 mmMake it yours ↗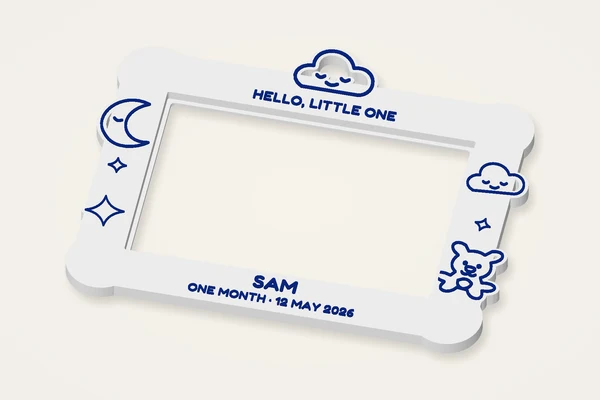
A sleepy moon, soft clouds and a teddy bear for the moments that grow with them.
Typical size: 214 × 173 × 8 mmMake it yours ↗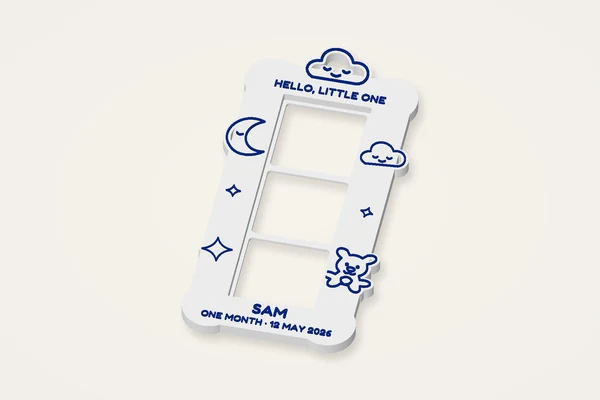
A sleepy moon, soft clouds and a teddy bear for the moments that grow with them.
Typical size: 107 × 218 × 8 mmMake it yours ↗KEEP THE GOOD TIMES
A happy face, a little camera and playful flowers for your favourite people.
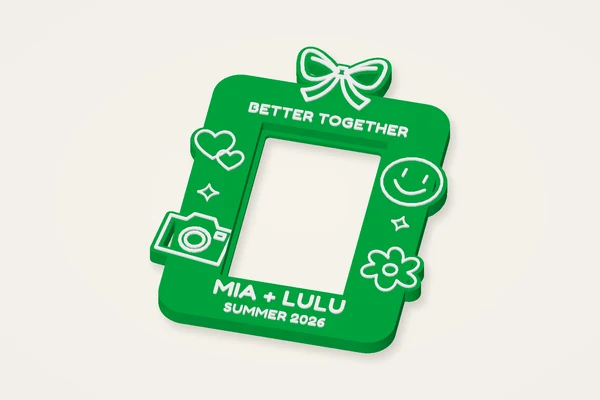
A happy face, a little camera and playful flowers for your favourite people.
Typical size: 116 × 155 × 8 mmMake it yours ↗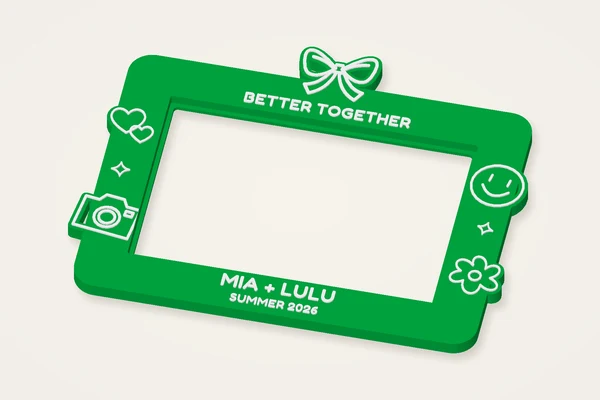
A happy face, a little camera and playful flowers for your favourite people.
Typical size: 214 × 171 × 8 mmMake it yours ↗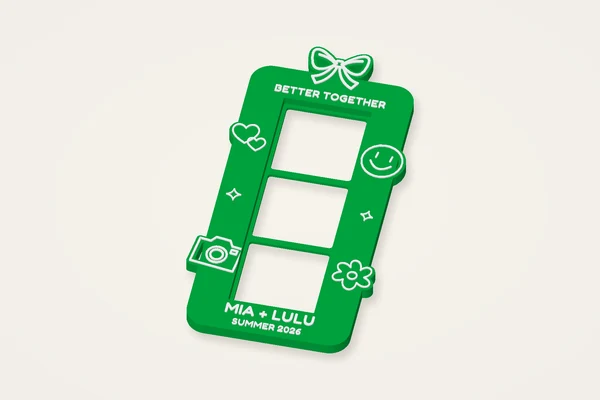
A happy face, a little camera and playful flowers for your favourite people.
Typical size: 108 × 216 × 8 mmMake it yours ↗A LITTLE HOME FOR ANY PHOTO
Simple borders, flower corners and a blank canvas for your own ideas.
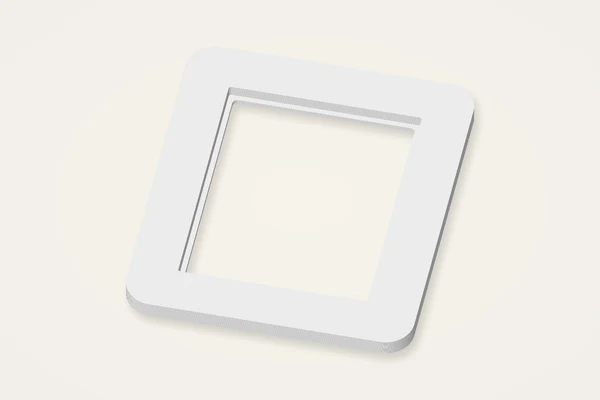
Measure your photograph and make a surround to suit it.
Typical size: 120 × 140 × 7 mmMake it yours ↗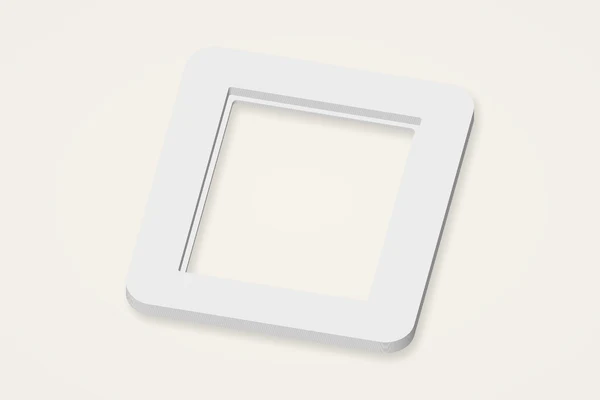
Adjust the frame shape, size and details from this starting design.
Typical size: 120 × 140 × 7 mmMake it yours ↗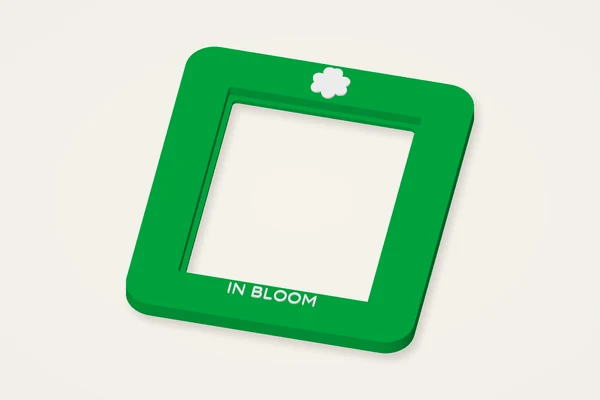
One flower, a soft rounded border and a small caption for a moment worth keeping.
Typical size: 120 × 140 × 8 mmMake it yours ↗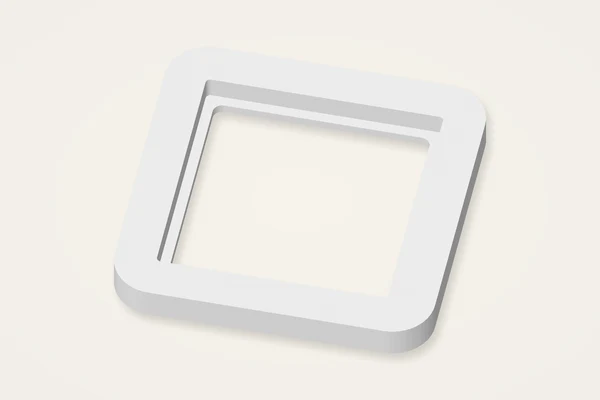
Adjust the frame shape, size and details from this starting design.
Typical size: 68 × 68 × 7 mmMake it yours ↗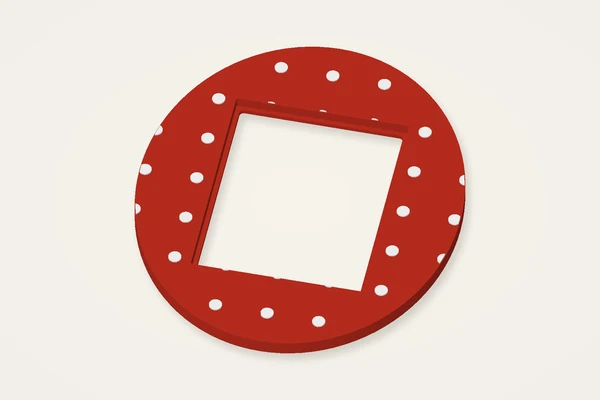
A playful dotted oval surrounding a rectangular photo opening.
Typical size: 149 × 177 × 8 mmMake it yours ↗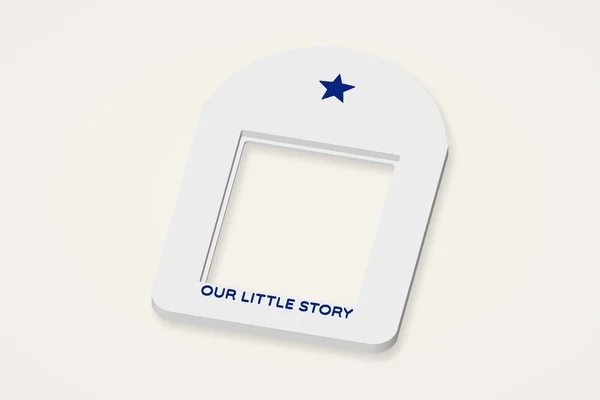
A storybook arch with one bold star and a little caption for a favourite memory.
Typical size: 124 × 184 × 8 mmMake it yours ↗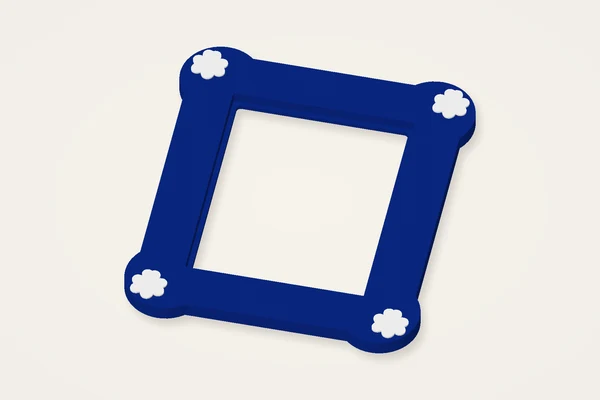
Four flower details on rounded, petal-like corners. Choose your photo size and caption.
Typical size: 130 × 150 × 8 mmMake it yours ↗Files only. Supply your own photograph and backing attachment. Check paper fit, raised details and print settings before making the final gift.
Start with the photograph you want to display, rather than choosing a frame size from memory. The picture frame maker builds a surround with a through window and a rear ledge. Soft corners suit a simple portrait; flower corners, an oval surround or a storybook arch give the border a different character. A caption can mark a place or occasion without covering the picture. The editor creates a digital model for your printer. It does not supply a printed frame, a photograph or a mounting kit.
The starting photo opening is based on an 80 × 100 mm picture, with a 12 mm border and a 7 mm frame depth. The visible window overlaps the edge of the photo slightly, while the rear recess leaves clearance. Measure the actual trimmed photograph, including any backing you intend to use. The optional separate backing plate is a loose component, not a locking mechanism. Plan your own suitable attachment and test its fit. Do not assume that a piece of glass can be retained safely by this geometry.
Add lettering after the window proportions are settled. Short captions usually leave more room for decoration than a long sentence. Text and motifs are clipped to the supporting face, so moving a word across the opening can remove part of it. If a letter seems to vanish, move it back onto the border or reduce its size. Look at the frame straight on, then rotate the preview to inspect relief. Palette colours illustrate your idea; STL carries shape rather than a filament assignment.
For a typical 0.4 mm nozzle, try a 0.2 mm layer height and three walls as a starting point, then inspect the actual toolpaths. Lay the broad flat face against the bed only after checking which side contains the rear recess. An unsupported ledge may need a different orientation or support strategy. Compare the caption layers before planning a filament change. Thin borders, decorative corners and isolated dots deserve extra attention. These suggestions are an initial experiment, not settings validated on a physical frame or a particular printer.
The frame is larger than the picture: the border, oval outline and arch all add material outside the nominal photo dimensions. A backing plate adds another object to the export. Read the model size beneath the preview and allow space for a brim or skirt in your slicer. If the file exceeds your bed, separating the backing is preferable to scaling a carefully measured photo recess. Scaling changes the picture fit as well as the decoration, so measure again if you resize the whole model.
A curled corner can stop a photograph sitting flat even when the dimensions are correct. Check bed adhesion and cooling with your material profile before repeating a full frame. If the photo rattles, adjust the rear clearance or backing arrangement rather than forcing it into place. If lettering disappears in the sliced layers, enlarge the strokes or choose a bolder font. Save the final settings in My makes alongside your own measurements. Make a physical fit sample before relying on a frame for hanging or protecting a valued photograph.
Birthday, Wedding, Baby and Best Friends collections combine original raised line drawings with editable headlines, names, dates and optional milestones. Each scene has mini, landscape and photo-strip starting points. Seven preset formats include instant mini 54 by 86, square 72 by 86, wide 108 by 86 millimetres, both orientations of a four-by-six-inch print, and 50.8 by 152.4 millimetre strips with either three or four windows. Decorative edges extend beyond the picture dimensions. Measure your actual paper and inspect the final footprint before printing.
No. The model provides the frame surround and an optional loose backing plate. Supply and assess your own attachment or display support.
Yes. Enter the measured width and height within the editor limits, then check the exported dimensions and rear clearance in your slicer.
Lettering is clipped to the supporting border. Move it away from the window, reduce the text size or choose a shorter caption.
The illustrations are engine renders. Check the geometry, print a fit sample and assess the finished frame yourself; no physical print test is claimed.