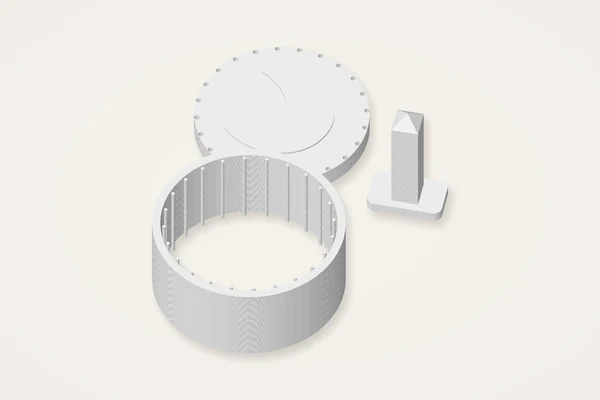
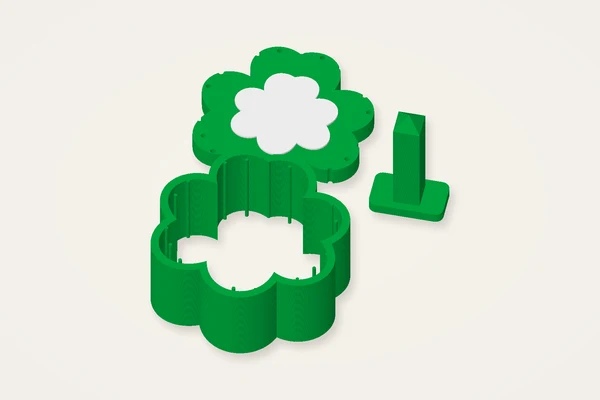
Start with a clay earring, a small gift tag or a patterned craft plaque. Every preview shows the tools you download.
Rendered from the downloadable model · Edit in your browser · Physical print checks pending
CLAY EARRINGS & SMALL SHAPES
Matching pairs and simple silhouettes for a quiet afternoon at the craft table.

Two matching heart cutters. Clay and jewellery findings are yours to add.
Typical size: 33 × 72 × 8 mmMake it yours ↗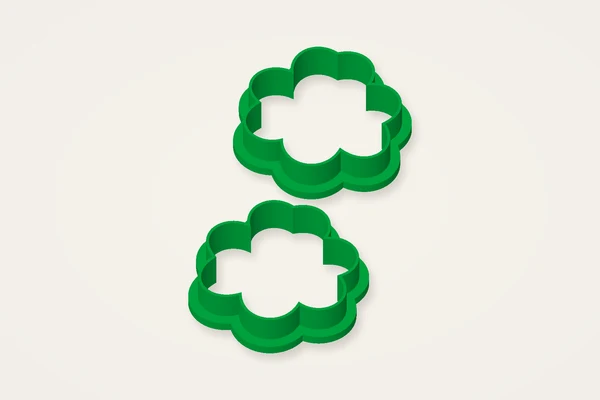
A pair of petal-shaped cutting tools for your own clay earrings.
Typical size: 35 × 76 × 8 mmMake it yours ↗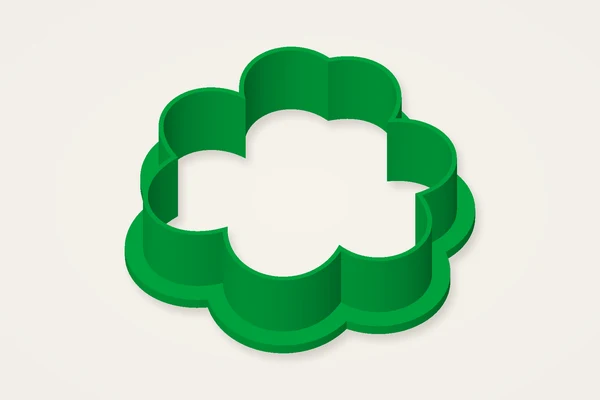
A soft flower outline and comfortable grip flange.
Typical size: 56 × 56 × 15 mmMake it yours ↗
A star cutting outline for small clay keepsakes.
Typical size: 53 × 53 × 15 mmMake it yours ↗GIFT TAGS & PERSONALISED CLAY
Pair a clean outline with a matching stamp for a little extra detail.
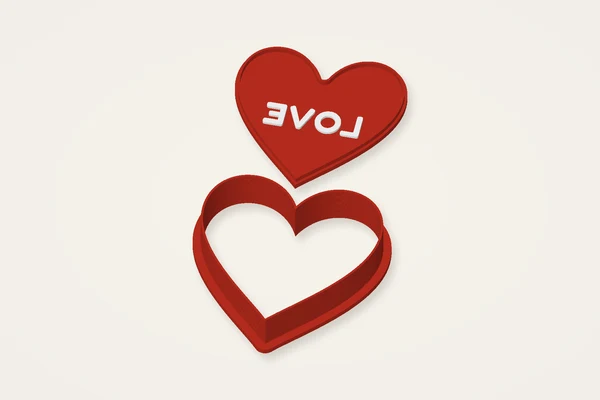
A heart cutter and a separate lettered stamp, ready for your own clay.
Typical size: 73 × 141 × 15 mmMake it yours ↗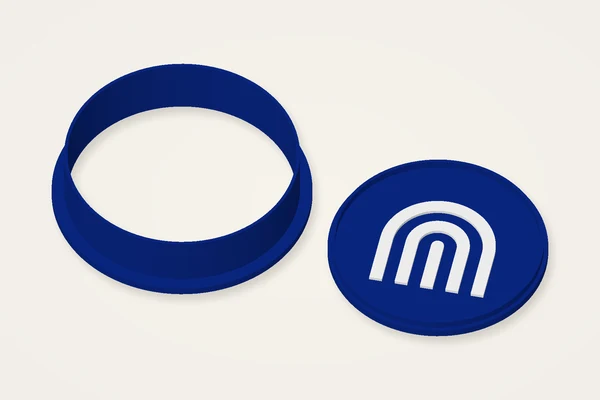
A round cutter with a matching rainbow relief stamp.
Typical size: 122 × 63 × 15 mmMake it yours ↗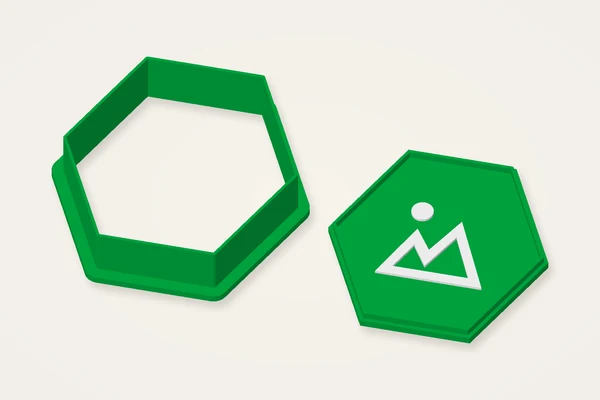
A hexagonal cutter with a mountain illustration on its matching stamp.
Typical size: 131 × 68 × 15 mmMake it yours ↗
A flower cutting outline paired with a sunny detail stamp.
Typical size: 73 × 142 × 15 mmMake it yours ↗
Begin with a heart, then choose an outline or upload your own filled SVG.
Typical size: 73 × 73 × 15 mmMake it yours ↗CRAFT PLAQUES & HAND-STAMPED DETAILS
Botanical lines, bookish details and a personal maker’s mark.
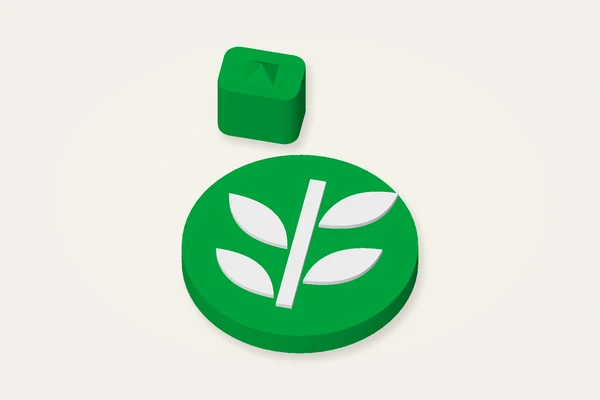
A mirrored botanical plate and separate handle for pressing a clay impression.
Typical size: 48 × 66 × 17 mmMake it yours ↗
An open-book impression with a loose peg handle.
Typical size: 48 × 66 × 17 mmMake it yours ↗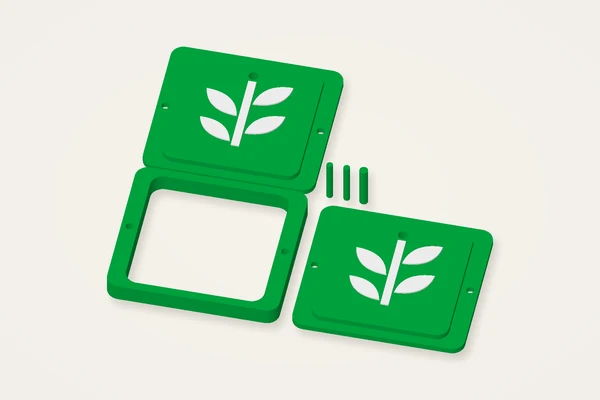
A frame, paired mirrored presses and pins for a leafy hanging plaque.
Typical size: 168 × 152 × 22 mmMake it yours ↗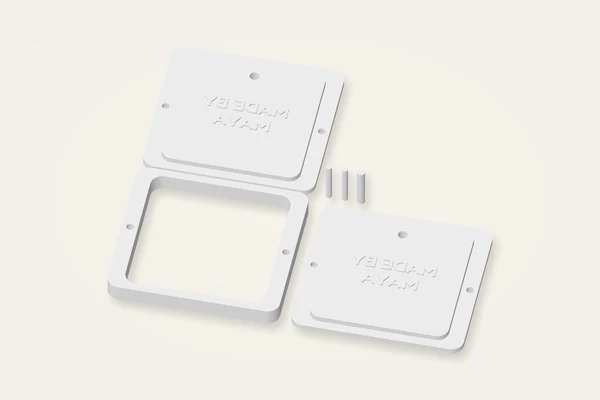
A lettered two-sided clay press. Personalise the maker’s name.
Typical size: 178 × 162 × 22 mmMake it yours ↗FLOWER & FESTIVAL PATTERNS
Sliding mold assemblies to explore with suitable craft material first.
These are cutting and pressing tools, not finished jewellery or food. Start with craft clay; printed plastic is not automatically food-safe.
The cutter workshop turns a silhouette into a cutting wall with a wider handling flange. Start with a flower, star or one of the other outline choices, or bring a clean SVG. You can add a separate inset stamp when the design needs an impression inside the outline. Think of the cutter and stamp as a pair of craft tools whose clearance needs checking. This page generates files; it does not manufacture a utensil or establish that a printed material is appropriate for food contact.
Rounded corners and open spaces are easier to inspect than a dense drawing with many narrow points. The cutter follows the largest outer contour, so disconnected artwork does not become a complete set of individual cutters. Convert strokes to filled paths before using an SVG. For an image outline, adjust the threshold until the intended silhouette is clear. Look for small notches left by background noise. A detail that looks charming at screen size may trap material or disappear when reduced to a small cutter.
A useful initial model is around 70 mm across, with a 0.8 mm cutting wall, a 15 mm wall height and a broader flange. These are adjustable design dimensions, not a proven utensil specification. Increasing the outline size gives tight corners more room without requiring an equally large increase in wall thickness. Increasing wall height changes clearance and flexibility. Keep enough material around handles and thin necks. The flange extends beyond the target outline, so use the full exported bounds when checking your printer bed.
With a 0.4 mm nozzle, begin by checking whether the slicer produces continuous paths for the chosen wall; a 0.2 mm layer height is a reasonable experiment. A nominal two-line wall can behave differently under variable-width slicing. Examine the entire perimeter, including tips and inside corners. Start with a non-food craft material to evaluate release and handling. Printed plastic is not automatically food-safe. Filament choice alone does not assess the printer, surface, cleaning method or finished tool. Choose a purpose-made food-contact tool when suitability cannot be established.
The stamp is a separate inset component. Add a short message or a decorative motif and check that the impression reads in the intended direction. Mirrored text is useful when the stamp should leave readable lettering in a surface. Raised geometry on the stamp creates a recessed impression, so judge the result as an impression rather than as a flat illustration. Keep the stamp and cutter together in your project notes. Their combined export footprint needs more bed space than either part considered alone.
Gaps in sliced walls call for a thicker wall, larger outline or simpler corner. A stamp that catches the cutter needs a clearance review; forcing one piece into the other is not a reliable fix. Stray internal islands often point to artwork that needs cleaning before conversion. If a tall wall bends in a trial, reconsider its proportions and material rather than assuming more infill changes a thin shell. Save the settings that produced your sample, and keep craft-use objects separate from food utensils. A successful download proves neither hygiene nor durability.
The cookie stamp has a face-up mirrored plate and separate tapered-peg handle. The mooncake mold adds a barrel, sliding pattern plate and separate peg plunger. Print the flat backs on the bed; the sockets have sloping roofs. Adjust the per-side clearance and check physical fit on a trial assembly. The coffee plaque mold uses two facing presses, an outer frame and locating pins for craft clay. Small polymer-clay cutters use a thinner wall and grip lip, including a mirrored earring pair. Choose the material-specific template before adjusting the size, because these tools have different jobs and assembly needs.
No. Assess materials, printer contamination, surface condition and cleaning for the intended use. Use a suitable purpose-made tool if you cannot establish suitability.
Yes. Use a simple filled SVG or an image silhouette. The generator uses the largest outer contour; clean away unwanted small regions first.
Mirroring makes the resulting impression readable. Check the stamp-mirror setting against the intended impression before printing.
When the stamp is enabled, the cutter and stamp are separate pieces within one STL. Inspect both and arrange them in your slicer as needed.