First Christmases, family traditions and small gifts for people who made your year. Start with the memory.
Rendered from the downloadable model · Edit in your browser · Physical print checks pending
FIRST CHRISTMASES & NEW BEGINNINGS
A name, a year and an illustrated detail make a small moment worth keeping.

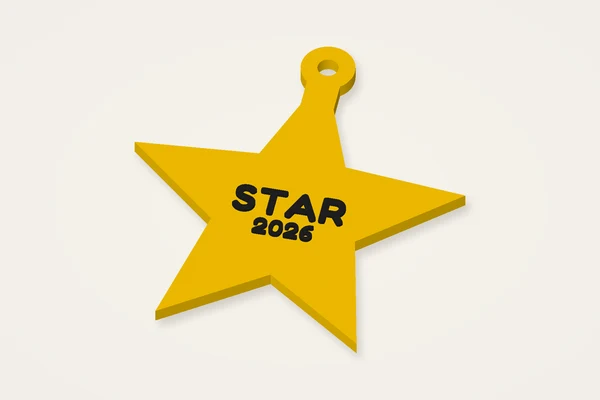
A raised gift above a name and first-Christmas message.
Typical size: 85 × 94 × 4 mmMake it yours ↗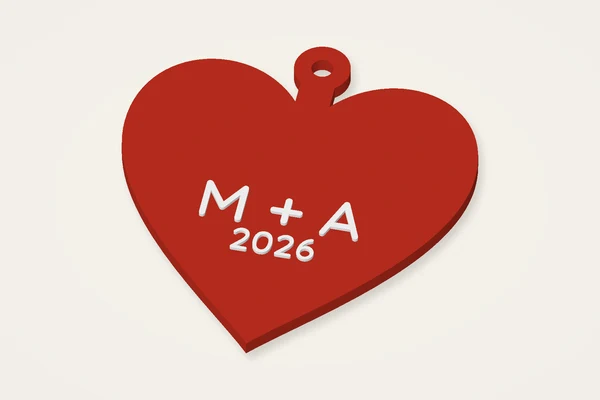
A heart-shaped keepsake for two initials and a meaningful year.
Typical size: 82 × 91 × 4 mmMake it yours ↗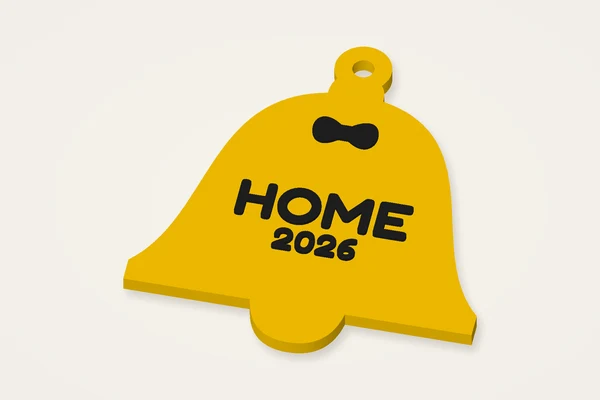
A bell outline, a little bow and a date for a new tradition.
Typical size: 80 × 89 × 4 mmMake it yours ↗FAMILY TRADITIONS
Personal names and familiar shapes that can return year after year.
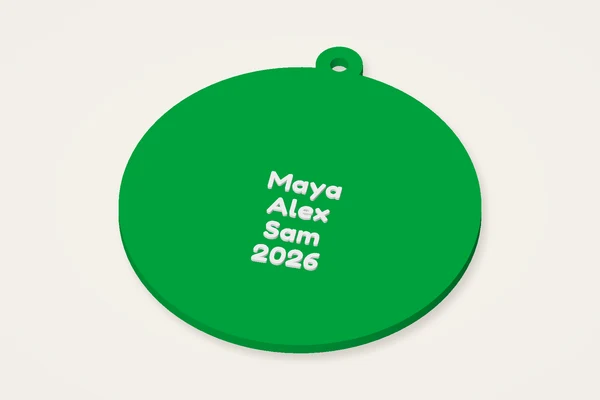
Three editable names together on one round family keepsake.
Typical size: 100 × 109 × 4 mmMake it yours ↗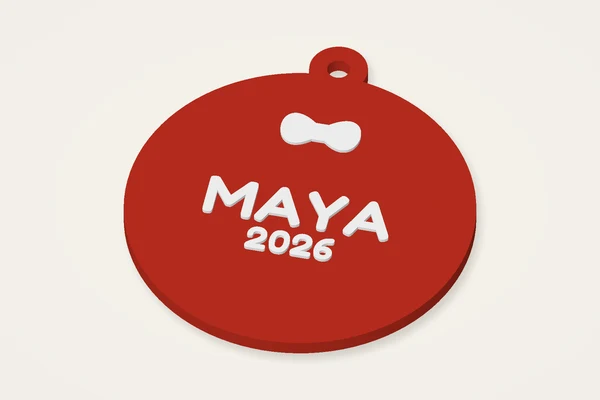
A ribbon-bow detail above a name and year on a round ornament.
Typical size: 78 × 87 × 4 mmMake it yours ↗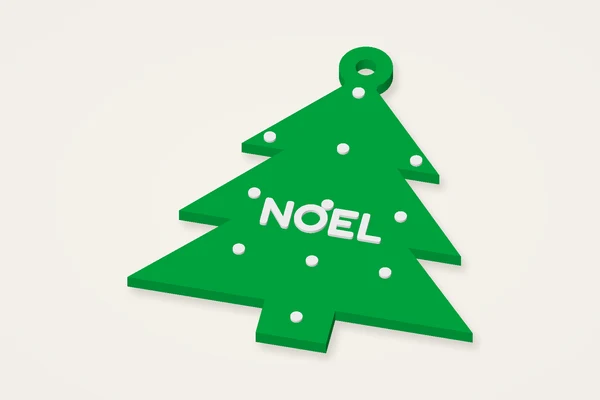
An evergreen silhouette with small raised baubles and a short name or word.
Typical size: 85 × 94 × 4 mmMake it yours ↗TEACHERS, FRIENDS & HOSTS
Small hanging keepsakes for the people who made this year brighter.
Ornaments include a printed hanging loop; ribbon is yours to add. Inspect fine points, lettering and the loop before hanging.
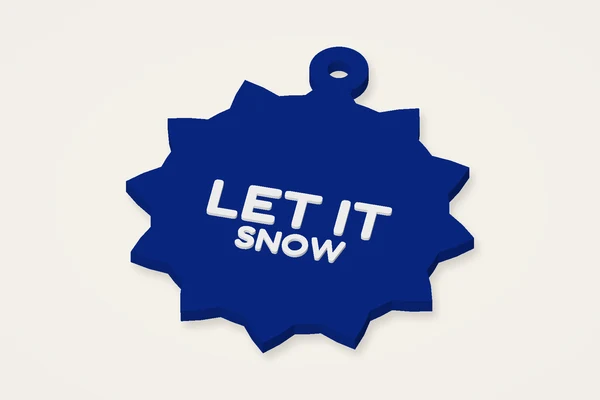
Christmas Ornaments makes a flat ornament with a name, an optional second line and a top hanging loop. A year can turn a simple shape into a reminder of one particular holiday. Choose a bauble, star, tree, bell, snowflake-edged round or heart. Each preset is a starting point for your own words rather than a finished physical product. The workshop creates files in your browser. You supply the printer, material and ribbon, and assess the finished ornament before hanging or giving it away.
The default body is about 70 mm across with a 3.5 mm thickness. The integrated loop extends above the outline, so the full export is taller than the nominal body size. A 5 mm opening sits within a broader ring joined to the body. That geometry leaves material around the hole, but it is not a tested load rating. Check the opening against your ribbon or cord and inspect the connection after printing. Scaling the entire STL changes the hole and loop along with the ornament.
Add the main name first, then a short year or phrase on the second line. The heart and star offer less uninterrupted central space than the bauble, so look for clipped edges after changing shape. Text can be raised or engraved with the shared controls. Raised lettering supports a possible height-based colour change; engraving gives a recessed message. Keep the words short enough that small strokes still appear in sliced layers. Moving or rotating text is useful, but the artwork is clipped to the supporting face rather than allowed to float beyond it.
Use a few dots, stars or a simple custom SVG motif before trying a dense repeat pattern. The tree tips and snowflake edge already provide visual detail, so additional decoration can be modest. A custom SVG should contain clean filled shapes, without scripts, external assets or live text. Preview it from above and from the side to inspect relief. The engine keeps named parts for raised lettering and decoration, allowing a multipart workflow when available. Today's free STL combines geometry; preview colours are illustrative and are not encoded as filament choices.
For a typical 0.4 mm nozzle, begin with a 0.2 mm layer height and three walls, then inspect the flat back, loop and pointed edges. These settings are starting points to test, not a validated print profile. Check that narrow tips and letters produce continuous paths. A brim may help an awkward outline but needs room on the bed and careful removal. Plan a supported filament change only after locating the actual lettering transition in the layer preview. Print one ornament before preparing gifts with several different names.
If a thin point curls, simplify the shape or review adhesion and cooling rather than trusting the smooth render. If an engraved word becomes filled, enlarge the lettering or reduce detail density. Inspect the loop for cracks, rough edges and layer separation before threading a cord. Use ornaments as decoration, keep them away from heat, and assess small-part hazards for the intended setting. Save the final settings with the year and name checked carefully. Software tests can inspect meshes, but they do not prove the strength or durability of a physical holiday keepsake.
The family template accepts several names, one per line, on one continuous ornament body. Start with two or three short names and inspect the height of the smallest character. A wider body gives every line more room, but the loop also needs checking in the slicer. The name ornament remains useful for an individual gift, while star, tree, bell, snowflake and heart variants offer different outlines. Keep the original spelling in a saved make on this device before trying another arrangement.
Bauble, star, tree, bell, snowflake-edged round and heart are available, each with a top hanging loop and editable text.
Yes. Use the optional second line for a year or short phrase. Check that both lines remain readable on the chosen outline.
Use raised lettering and inspect a suitable filament-change layer in your slicer. STL does not store colours. Download 3MF to keep the named parts aligned, then assign filaments in your slicer.
No. The loop has supporting material around its opening, but you must inspect and test the printed connection. A render is not a strength test.