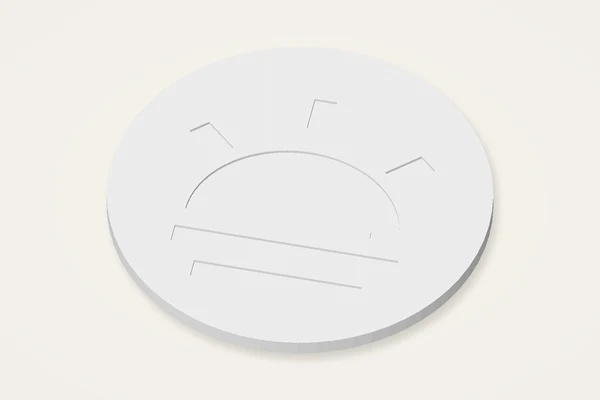
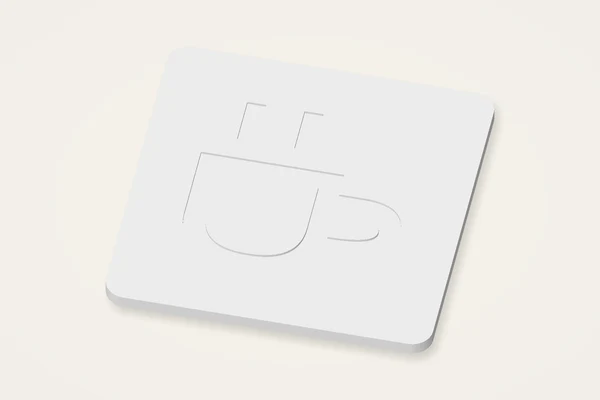
A reading nook, a leafy shelf or a place for cold drinks. Choose a small detail that belongs in your space.
Rendered from the downloadable model · Edit in your browser · Physical print checks pending
COLD DRINKS & QUIET CORNERS
Simple engraved designs keep the top surface flat, with room for a pad underneath.
ROOM NAMES & CREATIVE NOOKS
Connected lettering and original shapes to make a shelf or wall more personal.
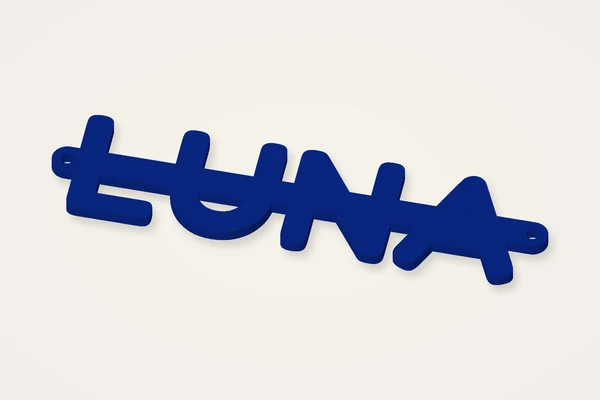
Rounded connected lettering with mounting tabs. Change the name and width.
Typical size: 160 × 40 × 4 mmMake it yours ↗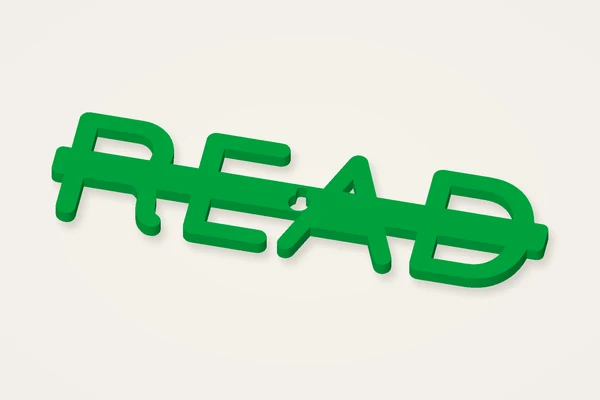
A connected word with a rear keyhole for your own suitable fastener.
Typical size: 142 × 38 × 4 mmMake it yours ↗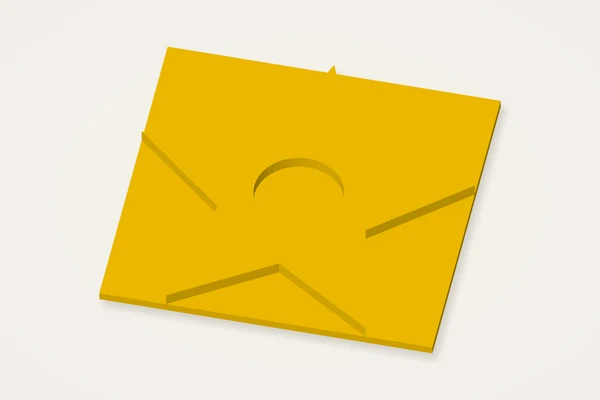
Start with an original star cut-out or replace the SVG with your own design.
Typical size: 75 × 73 × 5 mmMake it yours ↗DECORATIVE FILL PROJECTS
Real raised dividers, shown empty so you can see exactly what the file includes.
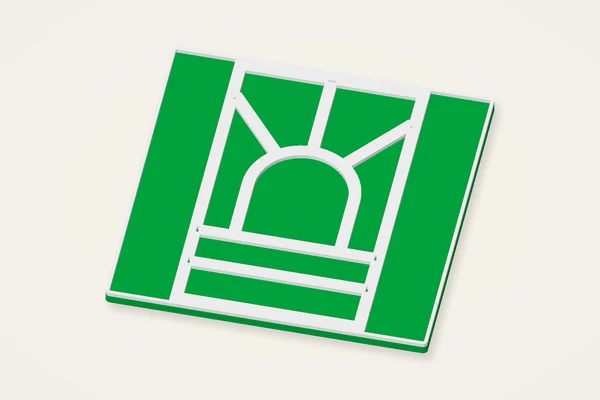
An arched sunset and horizon cells for your own cold decorative fill.
Typical size: 140 × 140 × 6 mmMake it yours ↗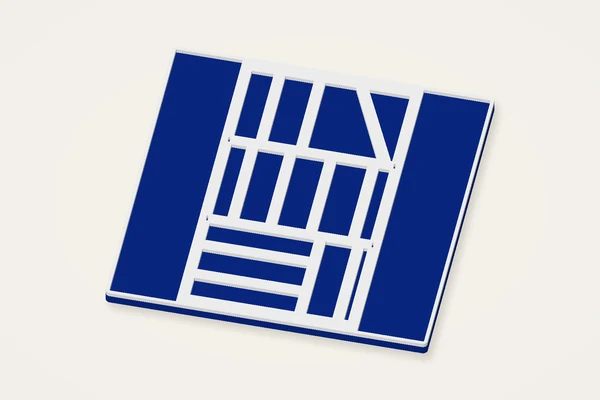
A little bookcase of open cells. The print contains the base and dividers only.
Typical size: 140 × 140 × 6 mmMake it yours ↗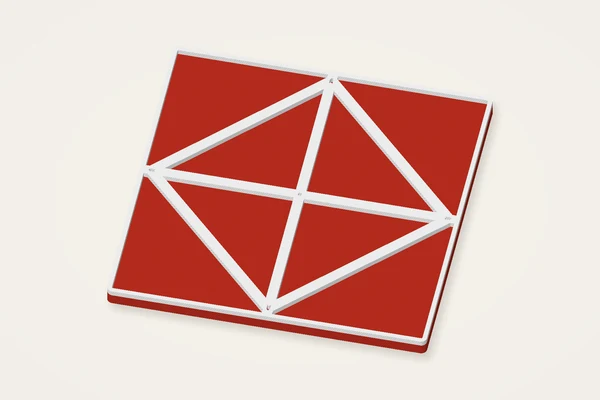
A diamond-shaped divider composition for experimenting with cold craft fill.
Typical size: 110 × 110 × 6 mmMake it yours ↗Supply your own mounting hardware, magnets or decorative fill. PLA is unsuitable for hot mugs; test the material and intended use.
A decorative object starts with a place and a purpose. Measure the wall space, shelf or table before deciding how large the model should be. A name on a wall must remain readable from across a room, while a coaster needs enough room for the base of a cup. Sand-fill plaques are closer to a small craft canvas: their compartments determine where colour can go. Choose one of these starting models, then edit its text or original artwork in the browser. The download is geometry for your printer, not a finished household product.
The wall-art maker joins a name or short word to a backing bar. Supporting bridges also connect isolated letter details, so dots do not become loose objects. Two hanging holes offer a straightforward attachment layout; the keyhole option changes the opening for a different fixing arrangement. Select hardware that suits the actual wall and the finished print. Neither screws nor anchors are supplied. Inspect the bridges behind every character after changing fonts, and check the attachment before placing the object where a fall could damage something.
Start near a hundred millimetres and compare the shape with the cup you intend to use. A round coaster and a rounded square offer different coverage at the corners. Raised decoration may leave an uneven contact surface, while engraved detail can collect moisture. Consider those effects before choosing a large central motif. An optional ring recess on the back accepts a user-cut cork or felt pad, which you supply and attach yourself. PLA softens under hot mugs; choose material for the intended temperature and assess a trial independently.
A sand-fill plaque has a supporting base, an outer border and raised divider lines. Start with one of the three original line drawings to understand how these elements meet. For your own artwork, use filled SVG paths or trace a high-contrast image locally. The minimum ridge setting thickens narrow features, which can also close a very small cell. Review the spaces between lines after each change. An open-cell warning means the drawing needs attention before loose fill is added. This plastic object is not a base for firing vitreous enamel.
Cold decorative sand or another suitable craft fill must be supplied separately. Compare its particle size with the smallest cell, and try a tiny sample before filling the whole plaque. An optional magnet recess removes material from the back, so check the remaining floor and the stated magnet measurements. Keep magnets away from young children. Separate STL downloads let you inspect the base and divider geometry independently; use the merged version when you want their original alignment. Preview colours are suggestions, and no STL embeds a paint plan, adhesive choice or filament assignment.
Rotate the rendered model to inspect the back as well as the front. Read the complete footprint and watch for a printer-bed warning when lettering becomes wide. Keep wall art within the supported 220 millimetre width, and confirm the slicer has not silently scaled it. Inspect narrow bridges, recessed floors and any unsupported surface in layer view. None of these designs has been physically test-printed. Save the editable make on this device, keep the matching STL and record your chosen material before making a second version for the same space.
The maker joins letters and isolated details to a backing bar with supporting bridges. Inspect those joins in your slicer and check the printed object before hanging.
PLA softens under heat. Choose a material for your intended temperature and assess it independently; this model makes no heat-resistance claim.
No. This is a printed plastic base for cold decorative craft fill, not a metal base for kiln-fired enamel.
No. Supply and assess your own pads, adhesive, magnets and mounting hardware. Keep small magnets away from children.